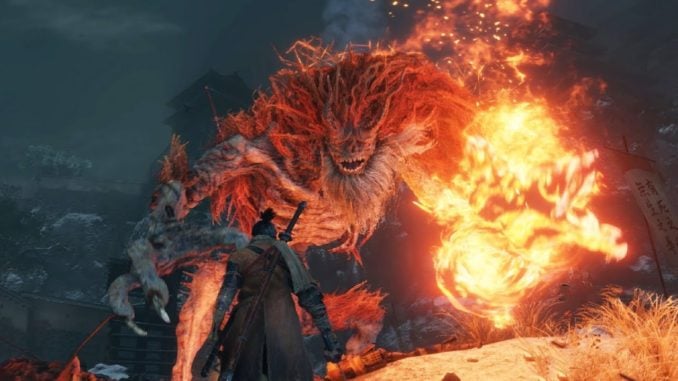
One of the best fights in Sekiro: Shadows Die Twice that isn’t part of the main storyline is the battle with the Demon of Hatred. And while you don’t have to take this guy on, we certainly suggest taking it on. Not sure how to find the Demon of Hatred or need some help finishing it off? Nerds and Scoundrels has you covered. Keep reading our Sekiro Shadows Die Twice Demon of Hatred Guide for all the info!
Sekiro Shadows Die Twice Demon of Hatred Guide
Before you can kill the Demon of Hatred, you’ll have to find him. You can locate him when you encounter the burning Ashini Castle. This will occur near the end of the game. Much like the way you grappled across rooftops to reach Genichiro earlier in the game, you will want to do the same here. Grapple to the rightmost side of Ashina Castle until you see a kite. The kite can be found once you head to the highest point of the castle. When you find the kite, use it to essentially backtrack the route you took directly to the arena with the demon. You will have a chance to rest at the idol before the fight starts.
During the fight with this secret boss, there are three phases. All three phases are relatively similar, although the Demon of Hatred does add attacks as the fight progressives.
Phase One
The Demon of Hatred has a variety of moves that you need to prepare for, but there are only two that cannot be easily dealt with by step-dodging. The two attacks to watch for are his jump and his sweep.
The demon’s jump attack is a powerful one that cannot simply be dodged. To deal with it, you will need to use your grapple mechanic. Wait until the demon jumps into the air, and then grapple it shortly before it hits the ground.

The demon also has a powerful sweep attack. You will know it is coming when a red icon appears over your head. The radius of this attack is too large to step-dodge, so you’ll need to jump over the attack and to your right to avoid it. Other than these two attacks, the rest of his offense is fairly easy to deal with. Try to work your way behind him, and be sure to get in as many shots as possible after his bigger attacks miss. Eventually, you will wear him down enough to enter phase two.
Phase Two
In phase two, the Demon of Hatred picks up a new ability. You’ll know it is coming when the demon charges up his flame arm. The new attack is similar to the sweep, but it ends with a large area of effect fire attack. To dodge this attack, run as soon as the arm starts to charge. It doesn’t matter where you go, just move in one direction quickly to get out of range of the attack. Other than dodging this attack, you will complete Phase Two the same way you did Phase One. Land a deathblow to move on.
Phase Three
In the final phase of this battle, the demon can create a ring of fire around you. You can avoid this attack by timing a jump at just the right time. This isn’t that difficult, as the red symbol over your head will alert you that the attack is coming. Just time your jumps well and don’t get greedy. You’re better settling for one fewer attack if it gives you a better chance at avoiding a big attack. After the third deathblow, the fight will be over and you will be rewarded with Lapis Lazuli and the Hatred Demon memory. That sums up how to find and beat the Demon of Hatred in Sekiro.
Getting the Demon of Hatred Achievement
 Like with most boss fights in Sekiro: Shadows Die Twice, there is an achievement available for completing this one. You will automatically receive the Demon of Hatred achievement as soon as you defeat the demon in battle.
Nerds and Scoundrels
And that concludes our Sekiro Shadows Die Twice Demon of Hatred Guide. Did we leave anything out? If so, let us know in the comment section. And don’t forget to check out the rest of our Sekiro content here at Nerds and Scoundrels. Want to see the fight go down visually? Watch the video below.


Be the first to comment